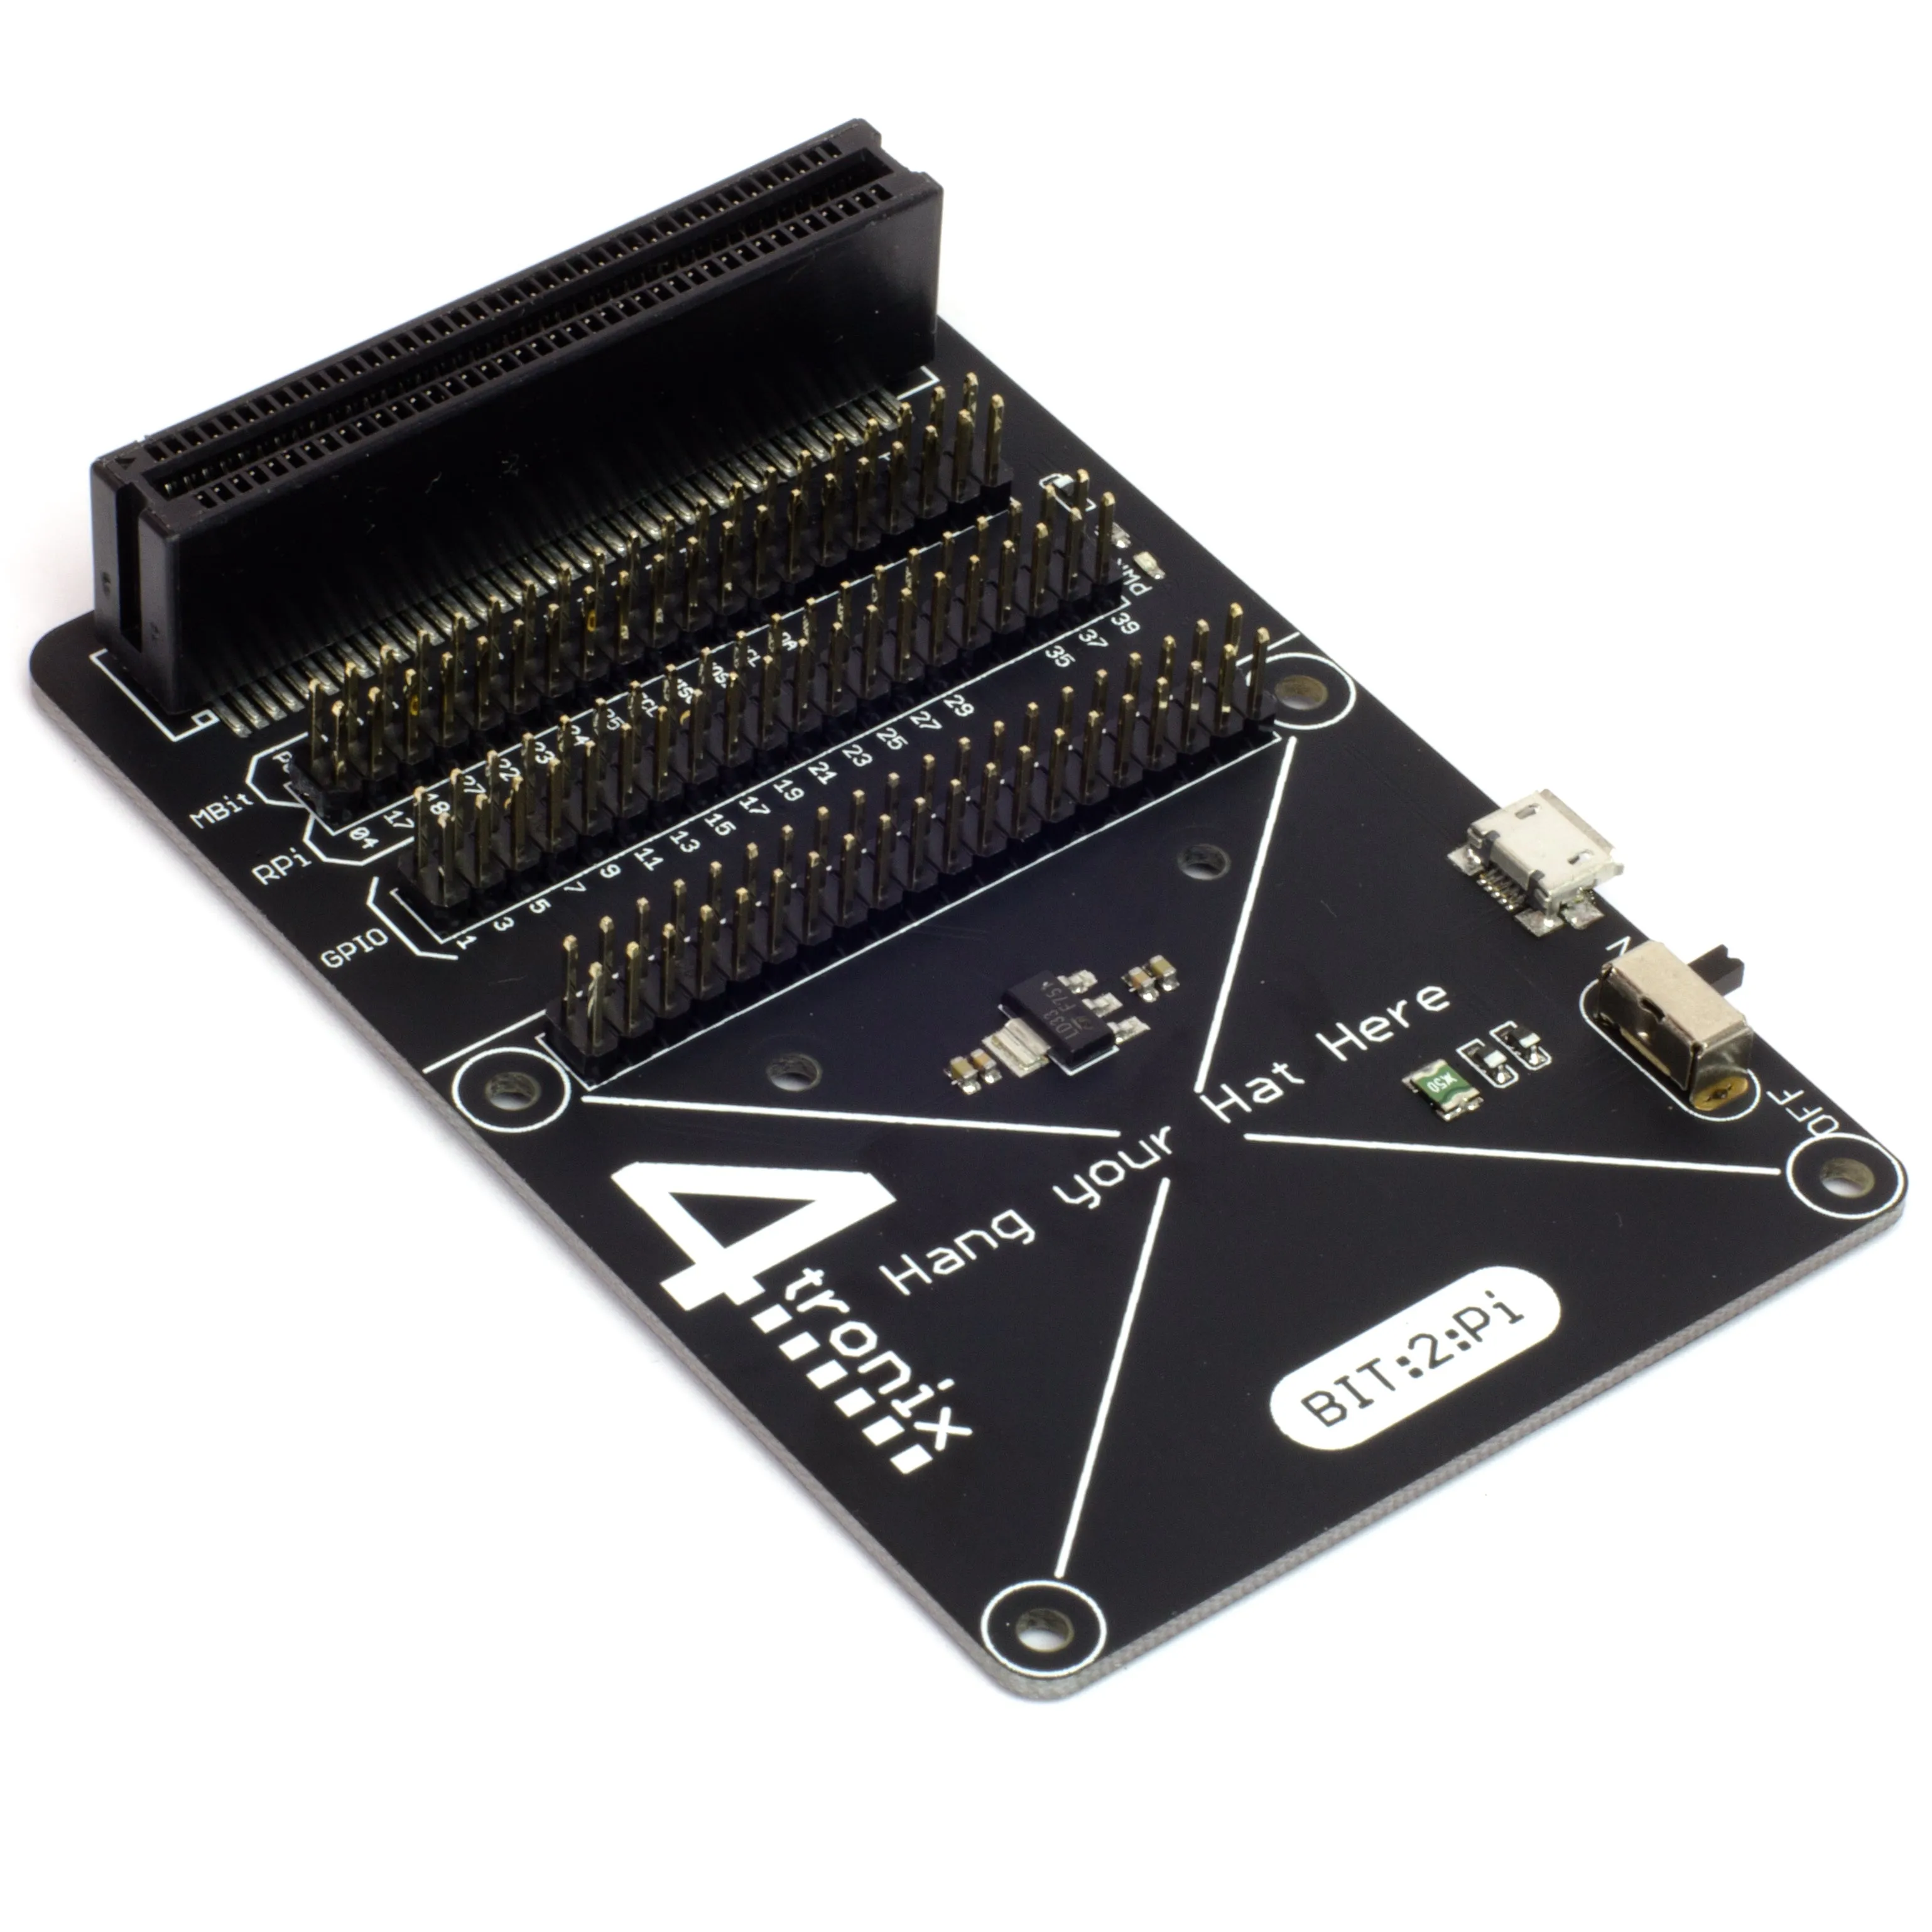
Bit:2:Pi allows the micro:bit to connect to Raspberry Pi add-on boards.
Note: micro:bit is NOT included!
The Bit:2:Pi enables you to reuse all those hundreds of
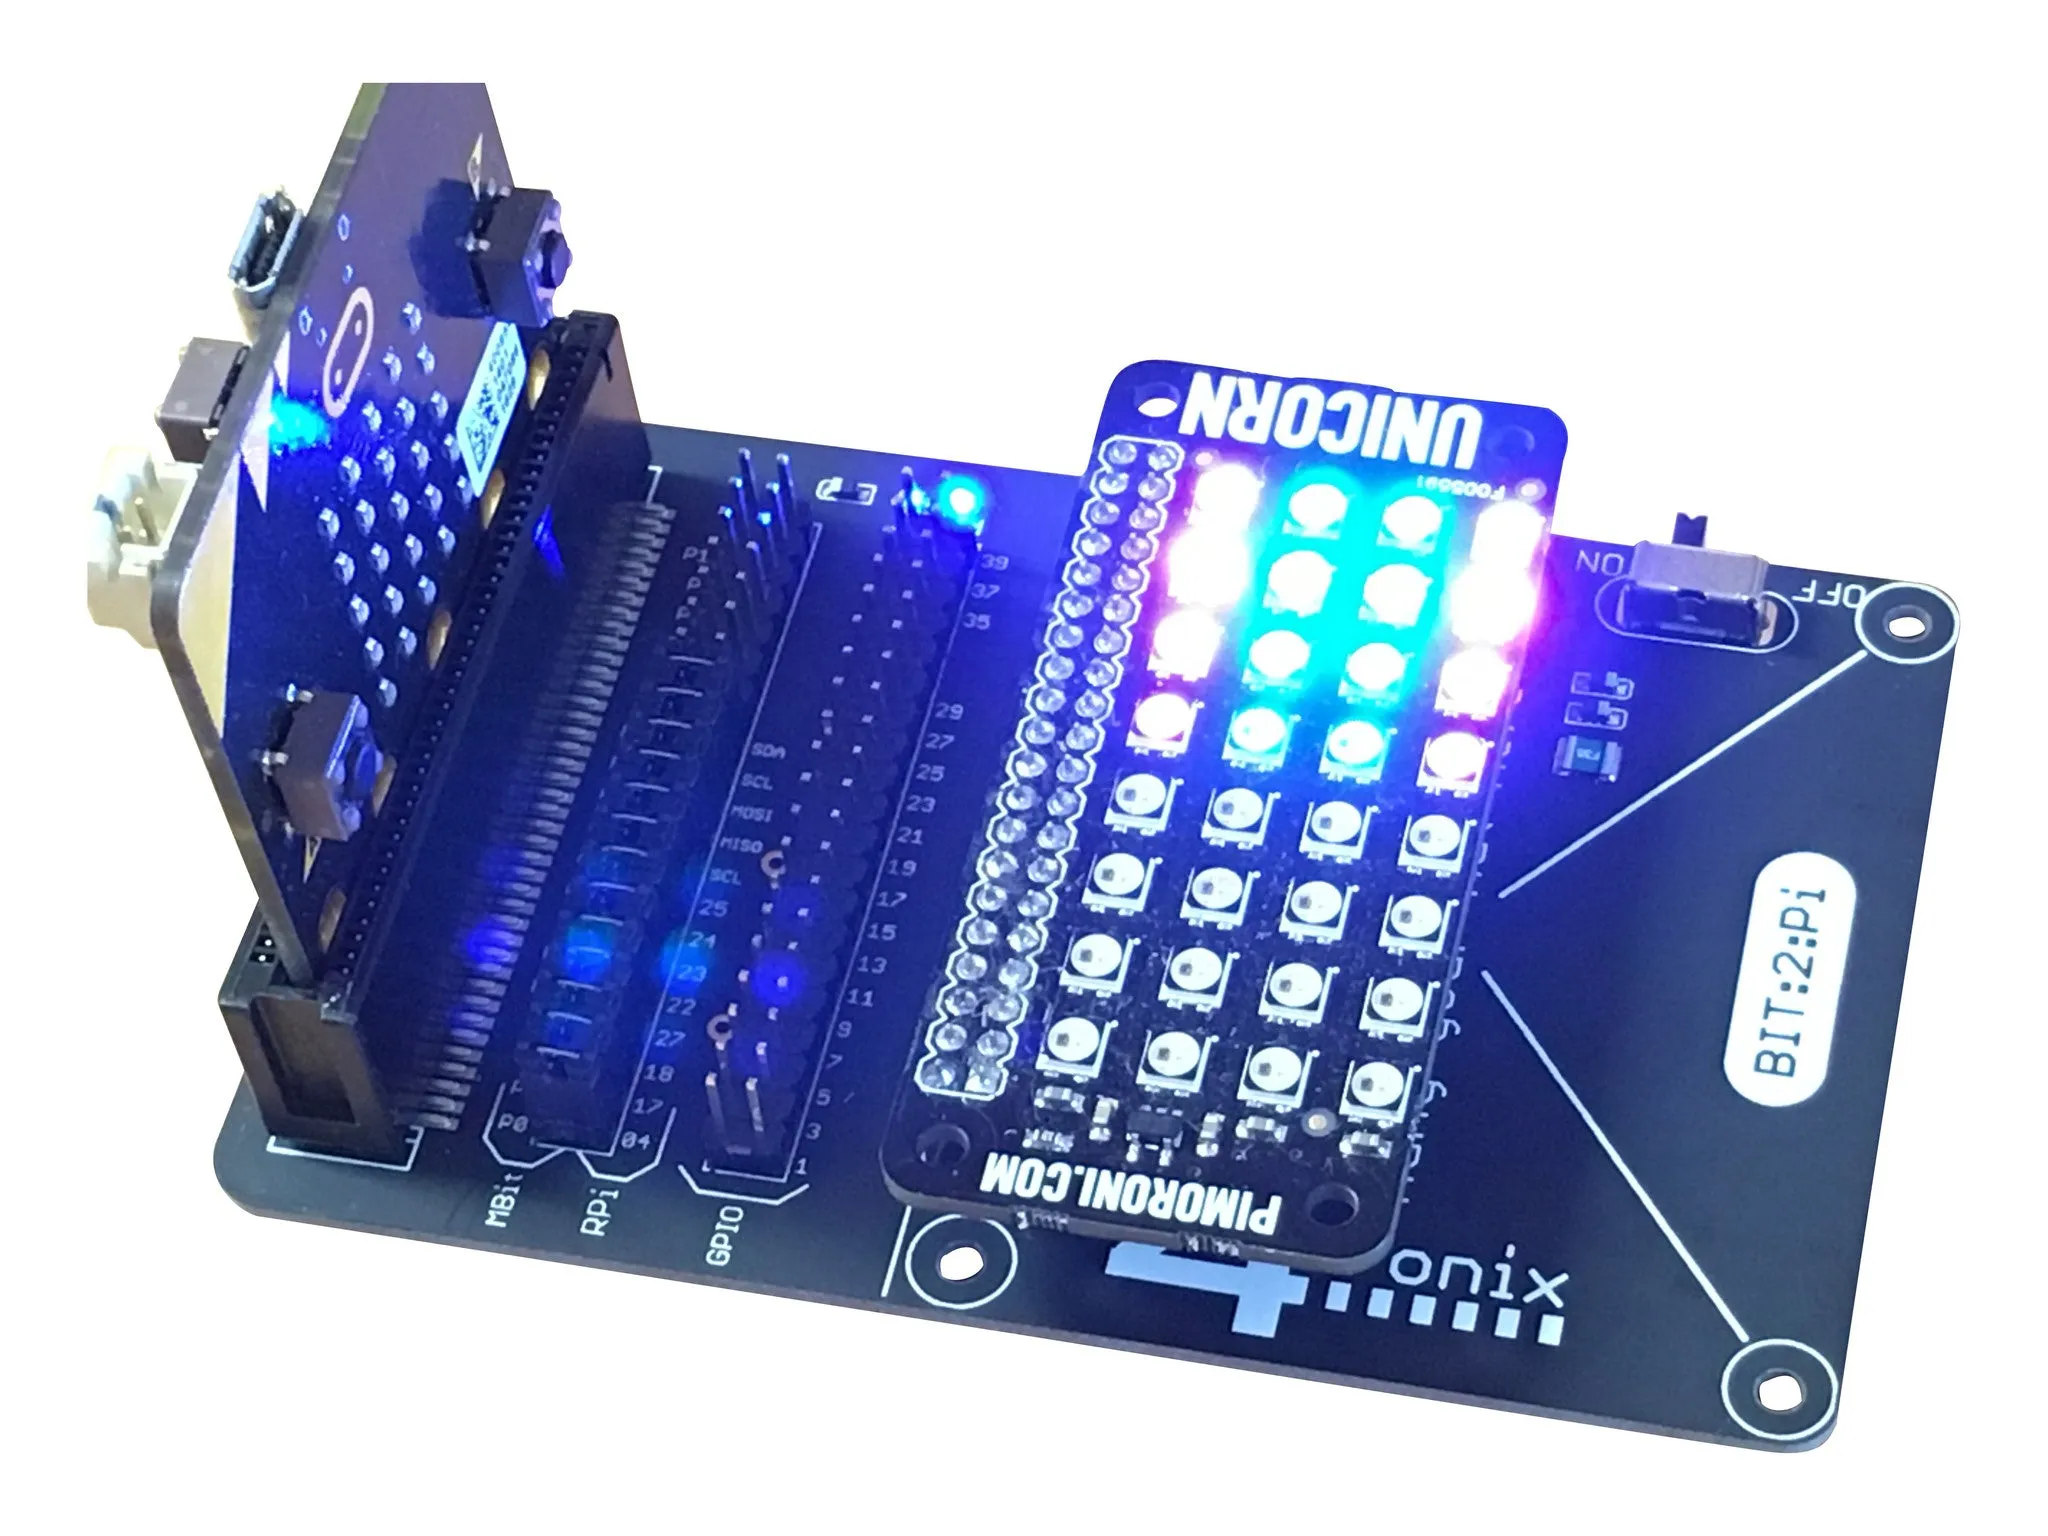
Simply plug your into the edge connector and the required Raspberry Pi HAT onto the GPIO connector, then program your micro:bit to control the new board. Most Raspberry Pi boards are very simple to program as they are controlled by simple on/off signals on the GPIO connector which are easily copied in the micro:bit. 4tronix have also used NeoPixel boards (eg. ) with great success and are happily communicating via I2C as well.
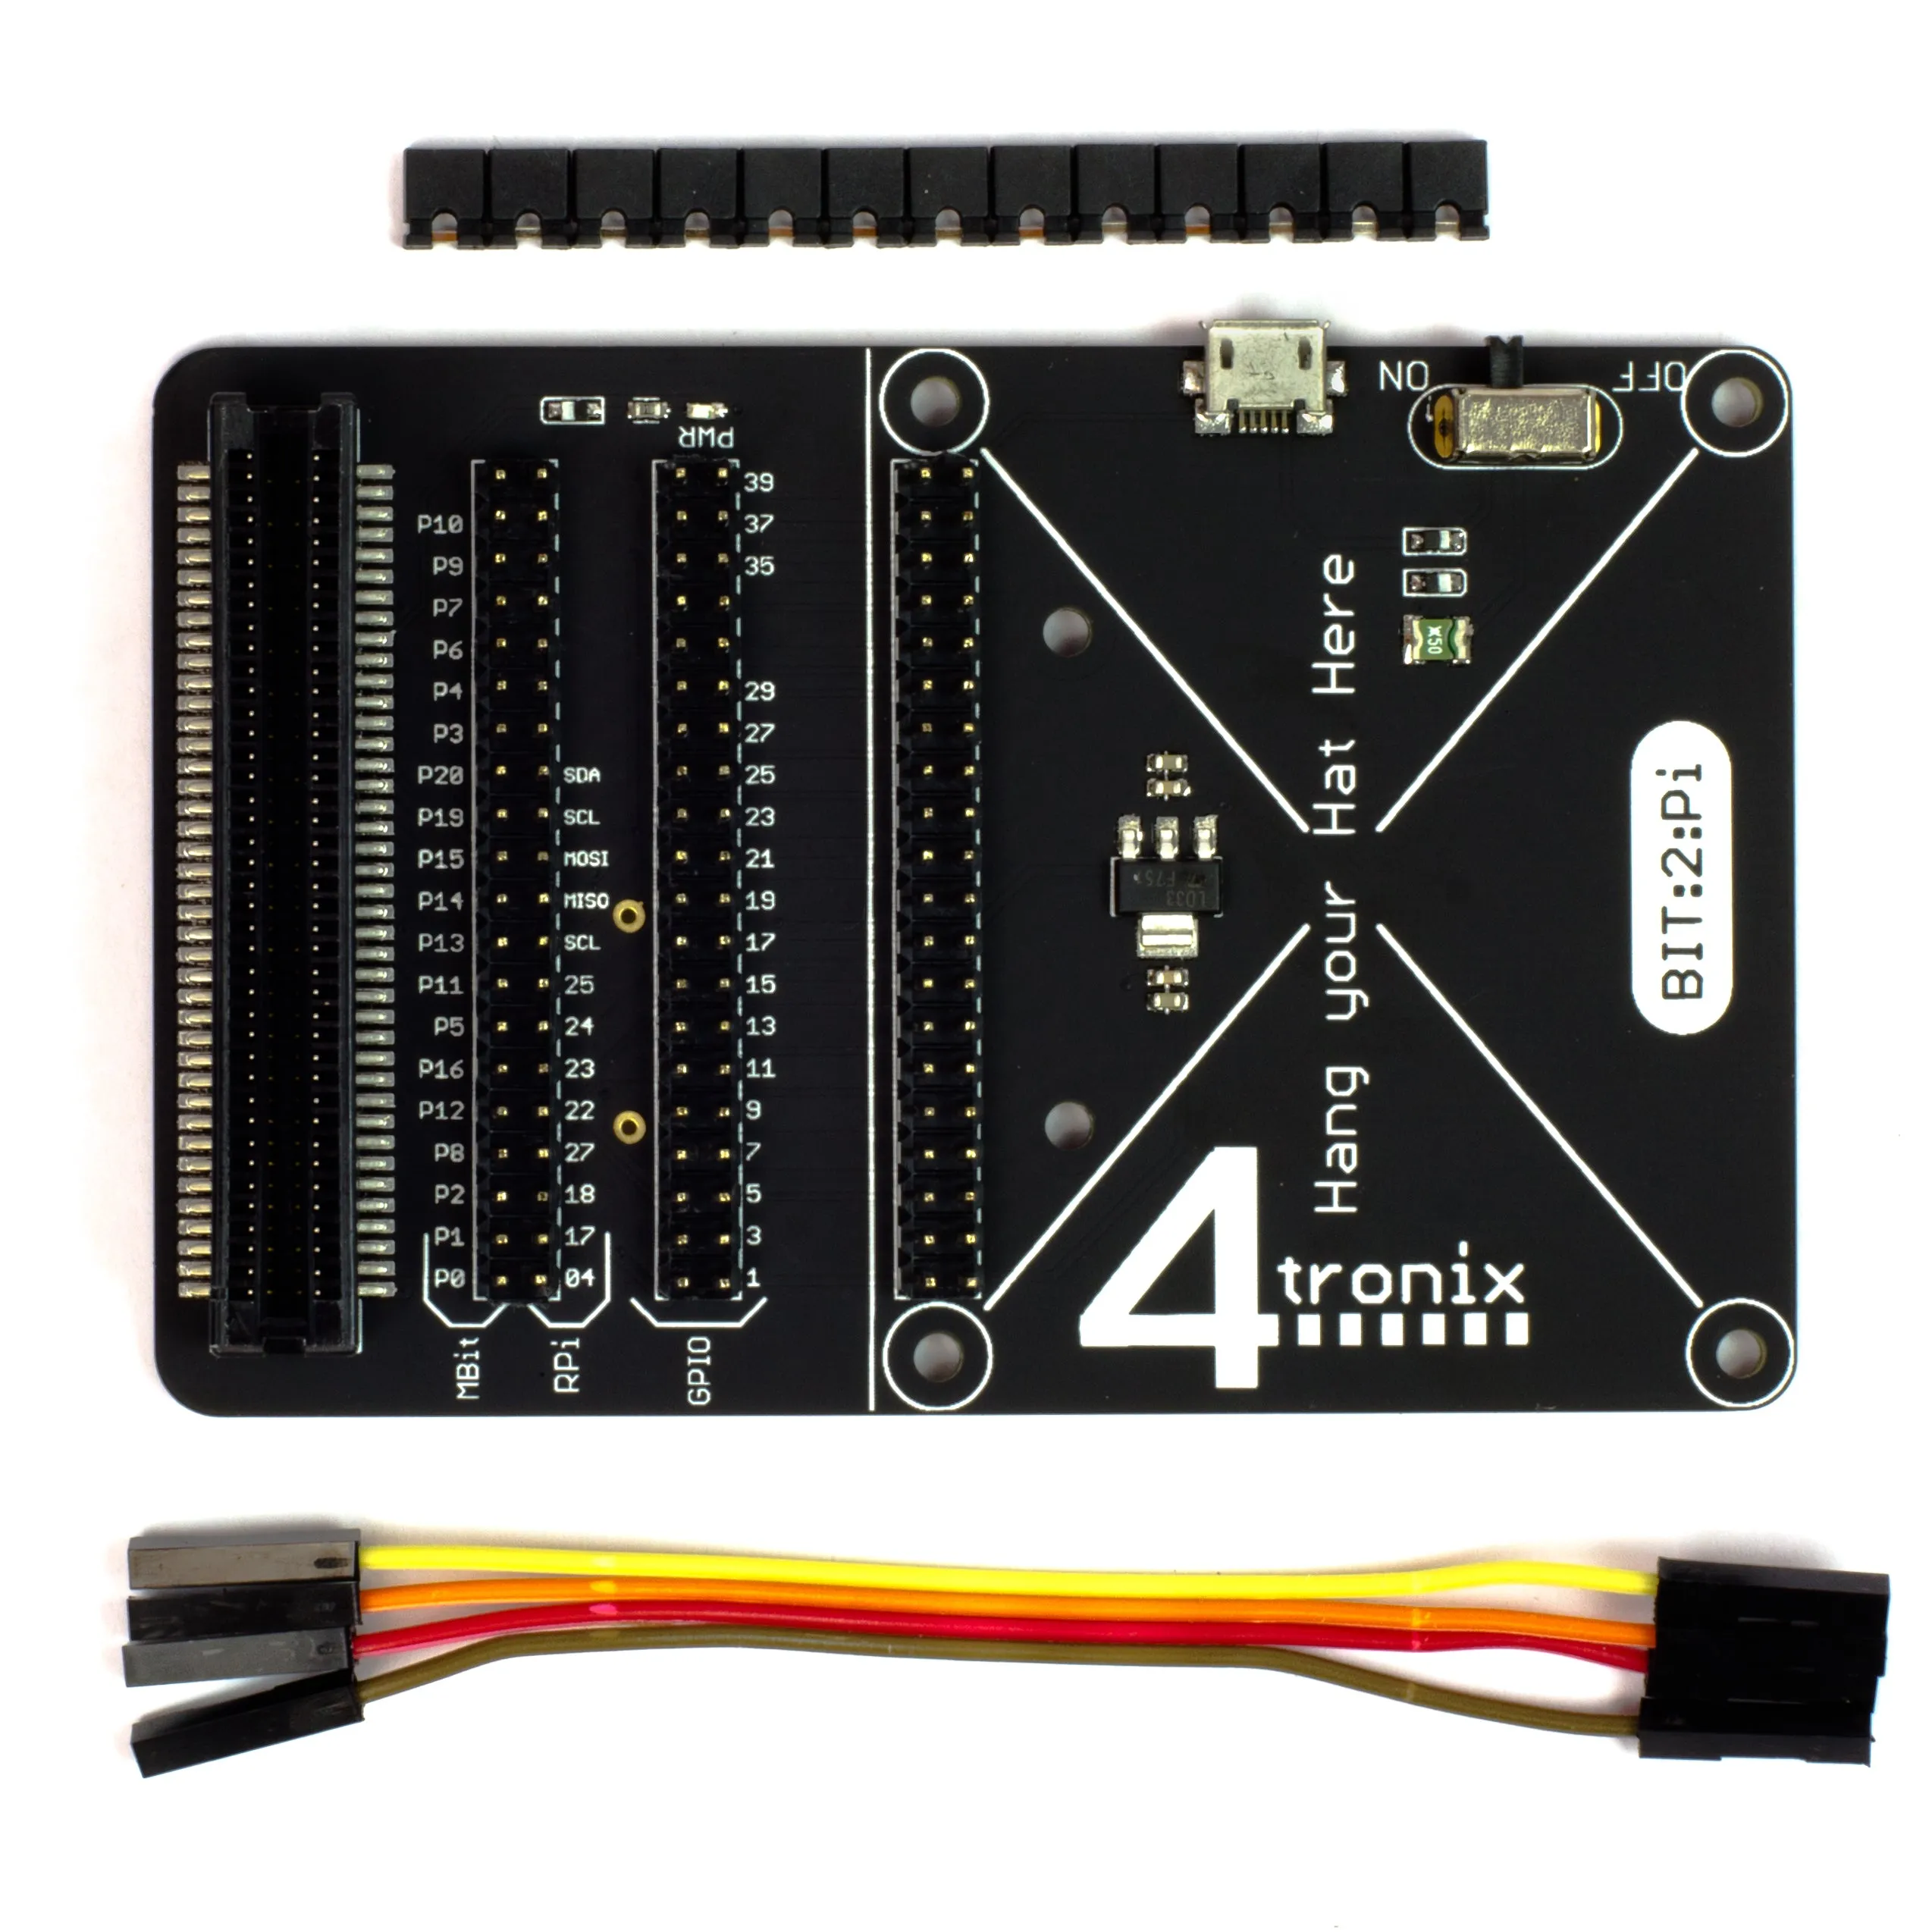
Select which micro:bit pin is connected to which GPIO pin via a set of configurable jumpers. There is a default set of connections that works for the most common boards, including I2C and SPI connections, but it is a simple matter to unplug a jumper or two, and replace it with a longer wire jumper (4 included) to connect your preferred pins.
Of course, the original code for the Raspberry Pi won't run directly on the micro:bit but with support from our community we will get more and more boards working and with example micro:bit code.
Current boards tested include:
- 4tronix: PlayHat, , ,
- Pimoroni: Unicorn /. , , ,
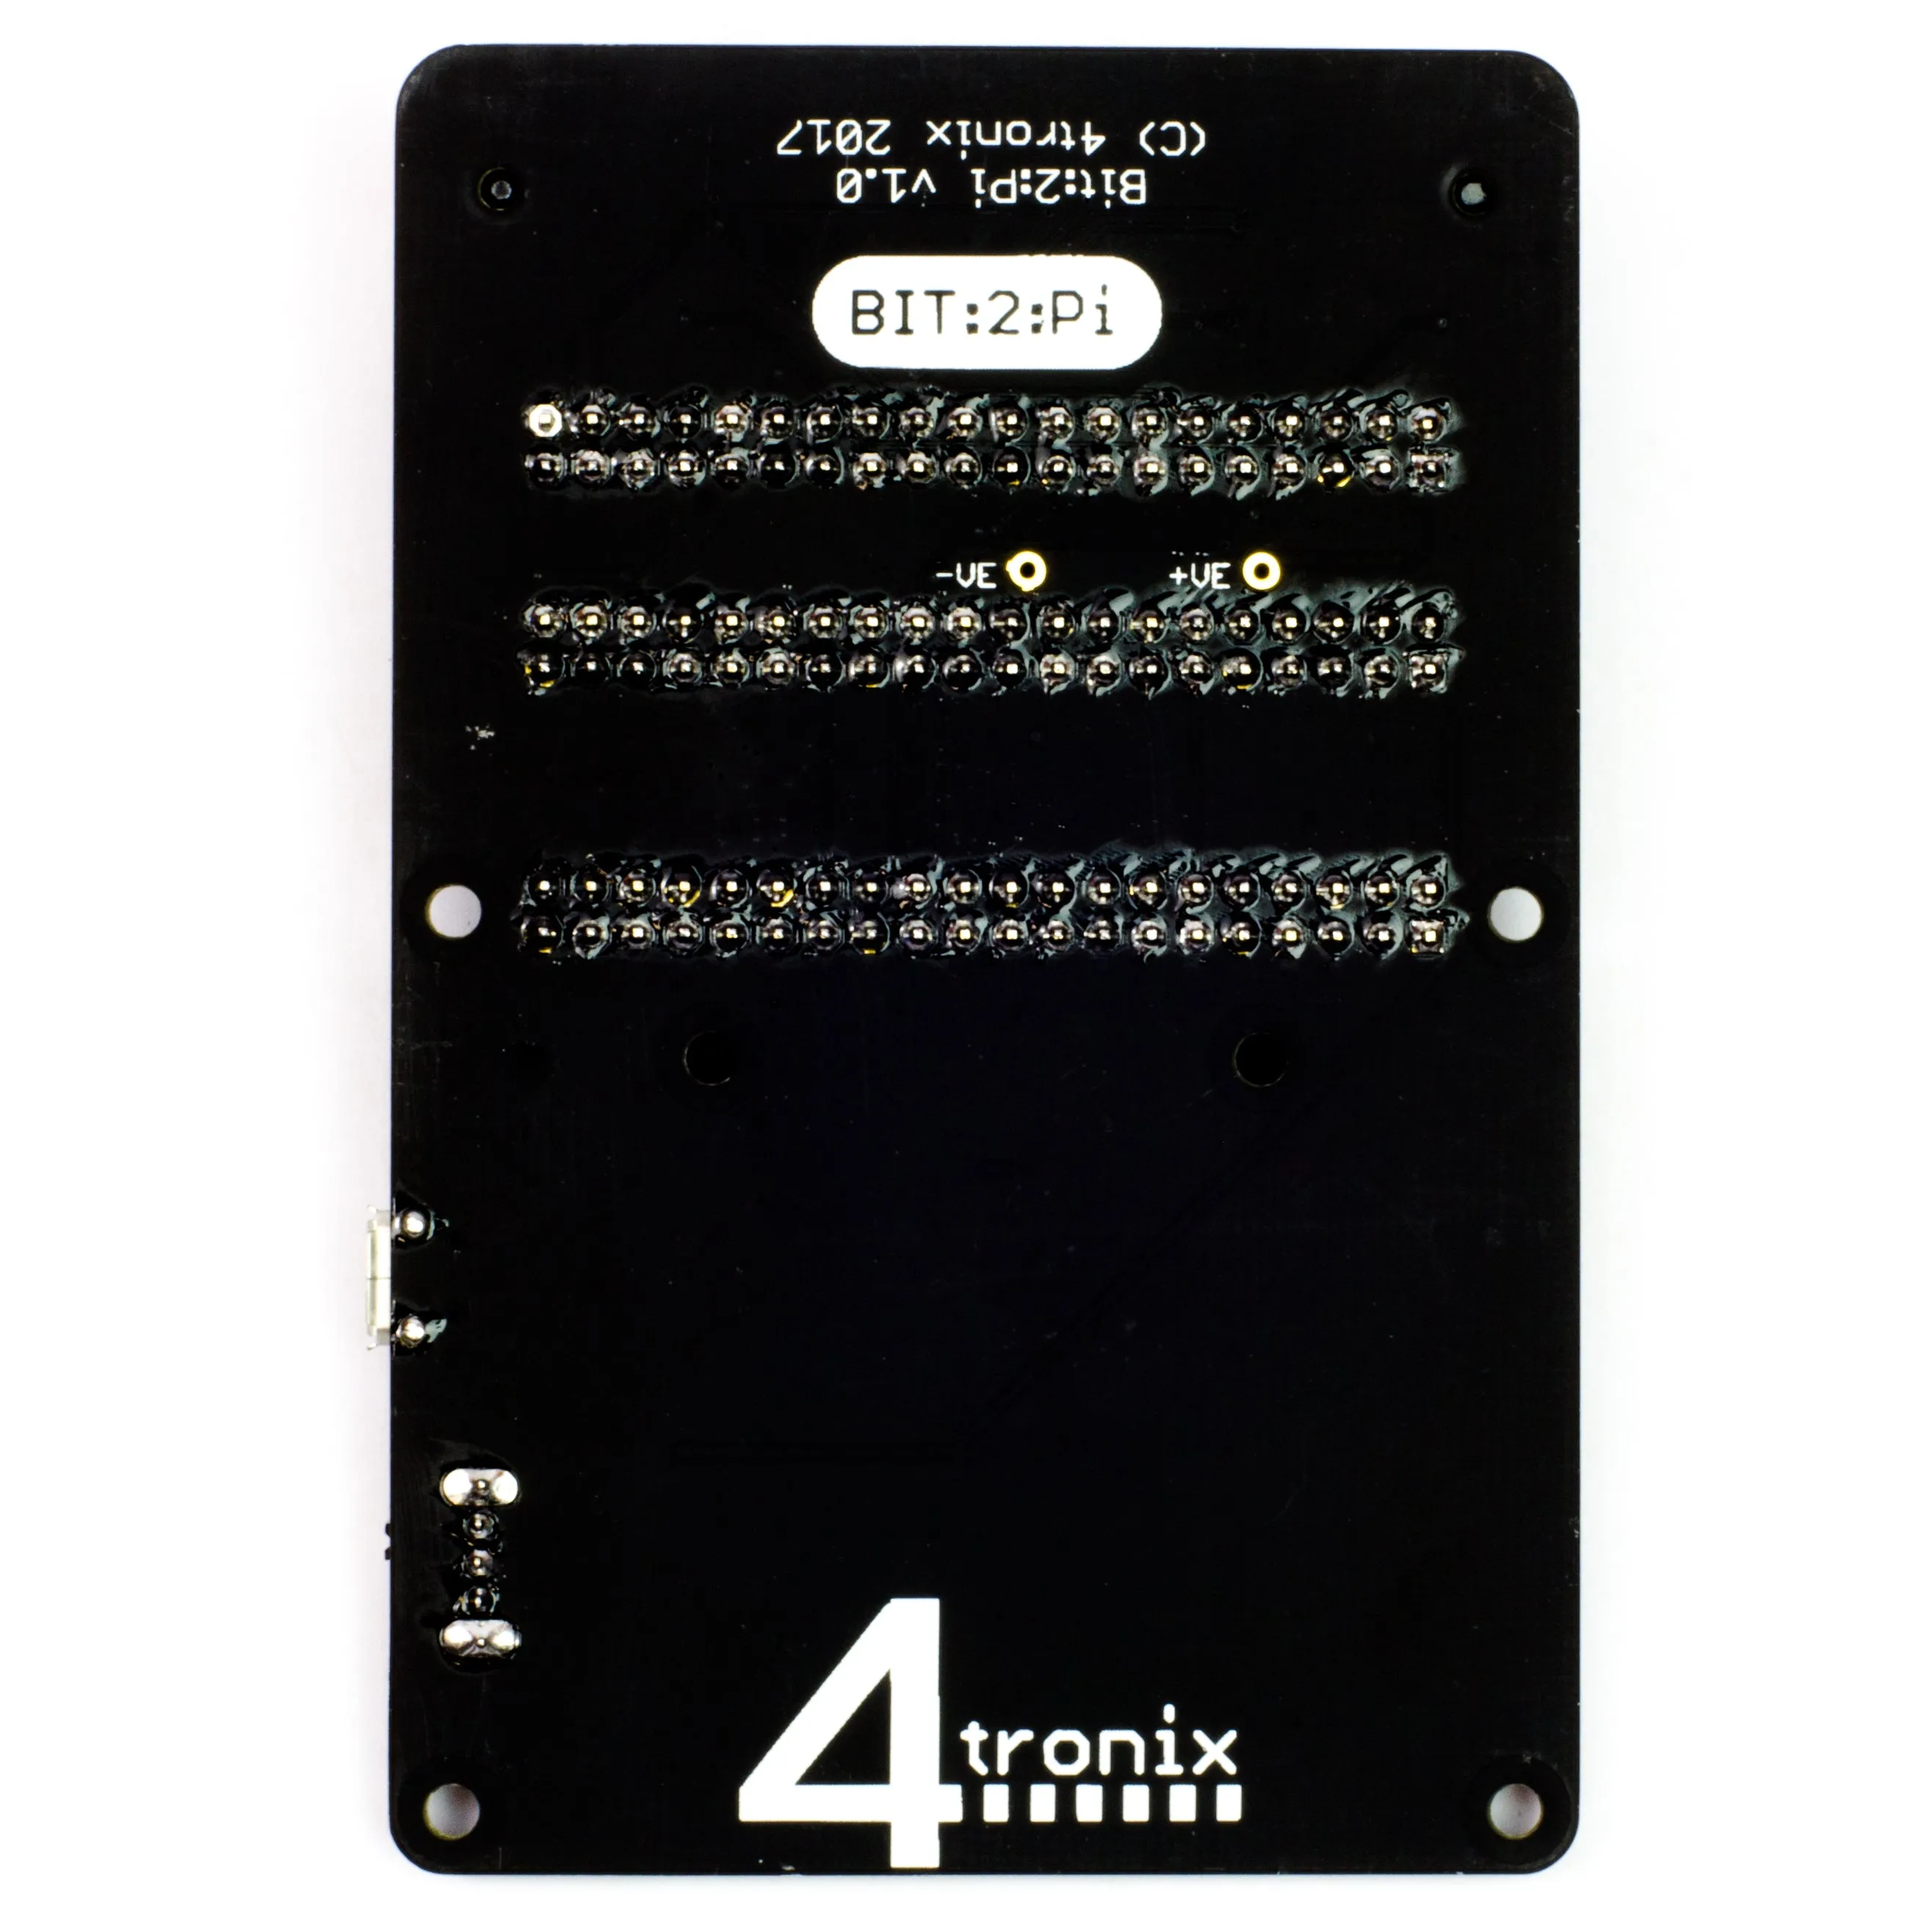
Power is supplied to the board and the micro:bit via the micro-USB connector on the side, but there is also an option to add a battery holder to allow completely wire-free operation.
More details on .
Compatible with v1 and v2.


